Murals cover a wide selection of techniques including encaustic, fresco, mosaic, photography, and stained glass. The majority of contemporary artists are interested in either painting directly to the wall or on a canvas, which can then be attached to a wall.
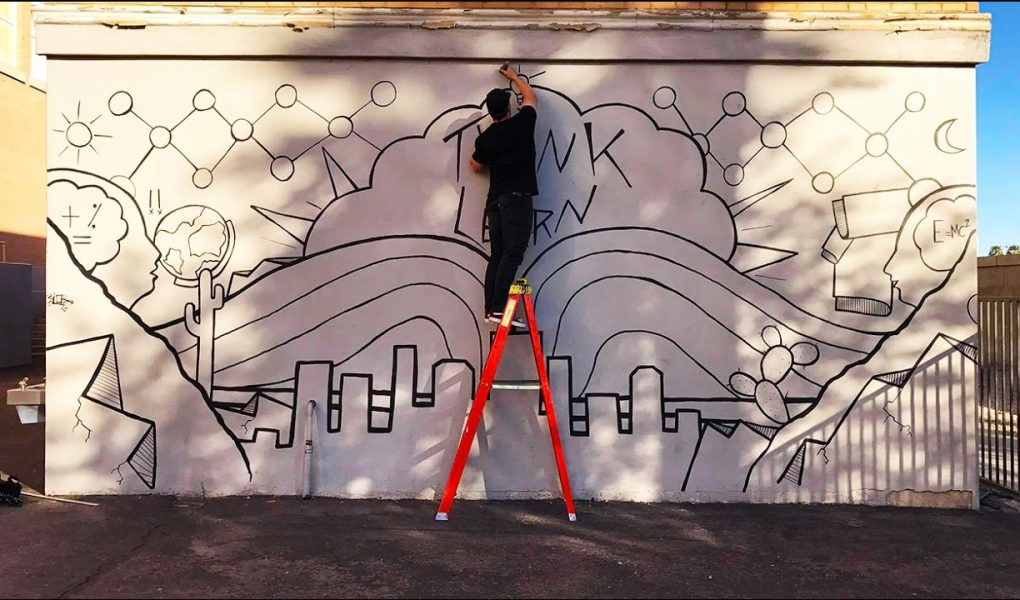
I often tell beginners that the most critical requirements for painting a mural are stamina and enthusiasm for the project. You will actually be painting a large area, and it will take a while to complete, which is perfect if you have a lot of time on your hands.
However, a lot of people don’t, and though you really may have your heart set on starting and finishing the project yourself, sometimes hiring a mural company to give you a helping hand should be considered.
If you decide to go it alone, you need to remember that once you have selected and prepared the area you will be painting, you will need to sketch the image you want to paint. The first step is to carefully enlarge the image using either grid or art projector techniques.
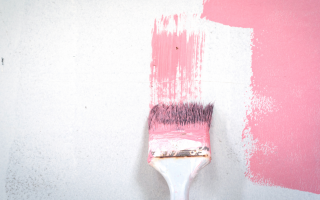
As soon as you have your pencil sketch, you can start underpainting. Here you can use large color blocks over which you will paint one more detail later. Depending on what colors are on your image, you can choose to use interior household colors, or you can use artist-quality acrylic paints.
From there, we are now ready to choose the mural technique to use. Mural techniques are similar to methods that are used when painting with acrylics on canvas. You could be surprised to learn that painting happens to be one of the most popular hobbies across the globe. And many people mastering the art of mural techniques initially started with canvas painting.
That being said, let’s take a look at some of the most popular mural techniques:
Stippling
This is one of the popularly used mural techniques for creating detail without worrying about creating smooth blends. For example, if you are firstly painting a green field, you can liven it up by stippling other colors over the green.
To achieve this look, you apply a green underpainting and wait for it to dry. Then proceed to paint a thin layer of a different color over it and while still wet, use a stippling brush to dab the new color around until it is all stippled.
Sponging
I love this technique most as it allows one to create a sense of texture in the mural. You can sponge one color on top of another to create a feeling of interest and depth, rather than painting a single block of color. It is one of the easiest ways of quickly filling a large area with color.
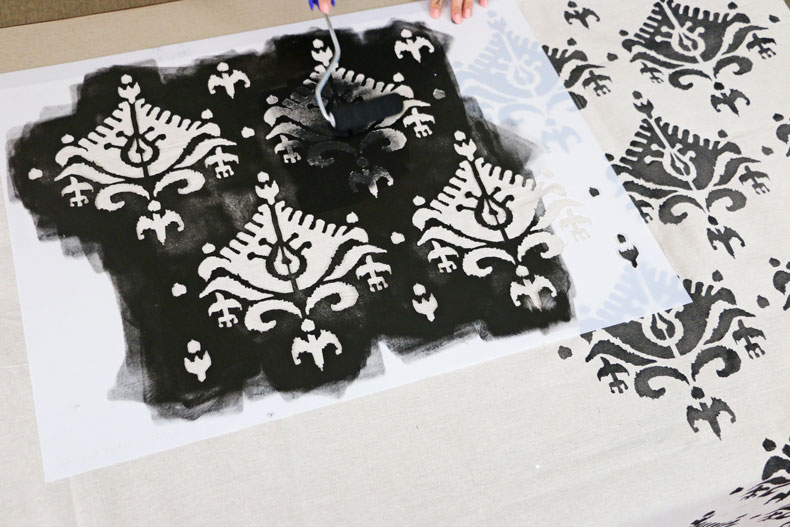
Stenciling
This is the most popular technique as it simple to achieve even for beginners. Stencils are bought in various sizes and shapes, from animals to alphabet letters, trees, and anything else possible.
To create a stencil design, you use a painter’s tape to stick the stencil on the wall. Use one hand to hold the stencil in place and use the other to paint in the color. You can alternatively use the stencil to create an outline and then later paint in detail.
Glazing
Glazing involves mixing acrylic paint with a glazing liquid; usually, I prefer Golden Glazing Liquid. This will make the paint thin and more translucent. When a glaze is painted on the wall, the color underneath will show through.
Antiquing
If you want a historical look in an area, you can use the antiquing technique. The antique look can be achieved by mixing your desired color; usually umber or sienna, to create an old look with an acrylic glazing medium. Brush the paint on the wall quickly and run a clean rag over the wet paint to spread it out. You can use this technique to add a darker color to the corner and the wall’s edges for added effect.
How to Finish a Mural
You finally have your mural, congratulations. But you need to ensure that it remains vibrant for a long time, thus the need to seal it. For this final step, you need to apply varnish and an isolation coat. Choose a varnish that is clear and doesn’t cause yellowing matte or satin sheen.![]()